Leaks: It Will Happen to You
By: Wes Kilgore
If you haven’t already experienced a leak with a piece of dive equipment, consider yourself lucky. However, at some point, it will happen! In this article, we will discuss common types of leaks, why they happen, and what you can do to address them.
It never fails; you’ve arranged a trip to your favorite dive site, packed all your gear, filled your cylinders, and are ready to go. But when you assemble your gear and turn on your cylinder, there it is – that dreaded hiss. What now?
The next step is to turn off your air, depressurize, and isolate the source of the leak. The first place to check is between your first stage regulator and your cylinder valve; the culprit is often an O-ring. If you have a yoke-style fitting, you can inspect the O-ring in the valve to see if it is worn or frayed.
If you have a DIN-style fitting, you should check your regulator O-ring to make sure it is present and in good shape.
In either case, if the O-ring is in poor condition, you should swap it out. This is where a save-a-dive kit with extra O-rings and a pick comes in handy. Even if you aren’t comfortable swapping out an O-ring yourself, your divemaster or instructor can assist you if you have the right tools.
The next spot you may find a leak is around the hose connections coming into your first stage regulator. There are O-rings on each of these connections which can break down over time, or simply get pinched when connecting the hoses. The O-rings for both high pressure hose connections and low pressure hose connections can be easily obtained at your local dive shop and added to your save-a-dive kit.
Next, we’ll look at leaks around the second stage regulator. Leaks in the second stage are sometimes caused by an O-ring failure, but the more likely culprit is an intermediate pressure creep occurring in the first stage. The best way to resolve this issue is to take the regulator to your local authorized service technician to have the equipment serviced and adjusted if necessary.
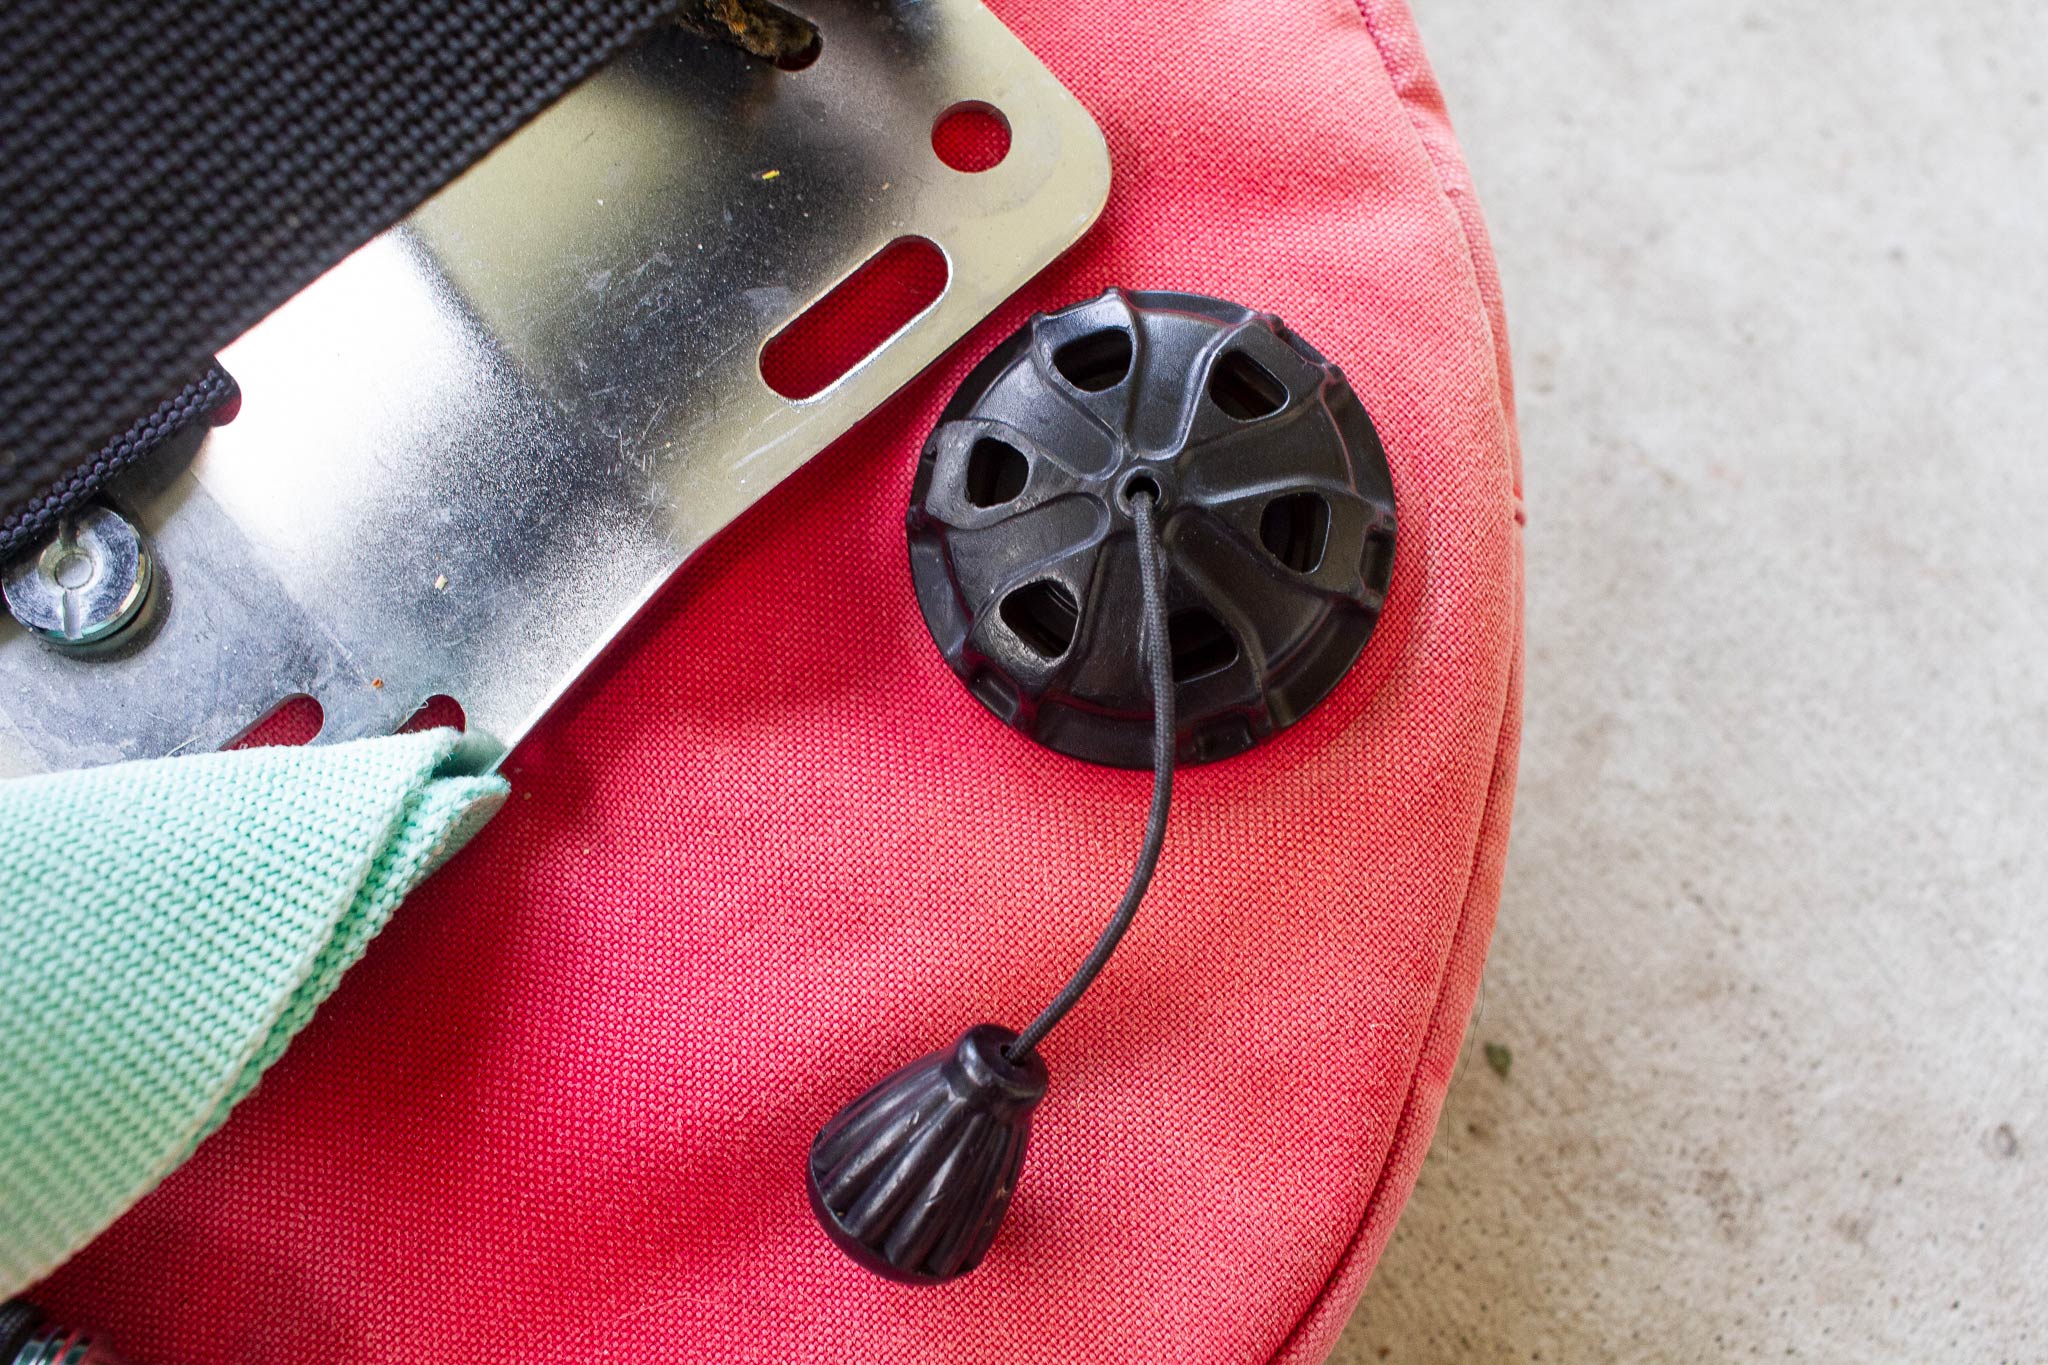
The majority of leaks are caused by high pressure traveling through our regulators and hoses creating wear over time, but there are other types of leaks you may experience as well. For many divers, the next most likely leak to occur is in the buoyancy compensator device (BCD). Your BCD has several potential leak sources. The inside of a BCD contains a bladder that we fill with air to adjust our buoyancy in the water. This bladder can break down or become punctured causing a leak. There are also several through connections for adding and venting air. It may be that one of these connections or valves is not properly tightened down, but if securing the visible connections and valves doesn’t seem to correct the issue, the O-ring/diaphragm inside may need to be replaced. For any interventions beyond simply tightening a connection, taking the BCD to a reputable service technician is the best option for repairing a BCD leak.
Dry suits are another piece of equipment subject to leaks. If you are not a dry suit diver, then this won’t be an area of concern. You should receive specialized training before employing a dry suit for diving, and part of this dry suit training will likely cover leaks. Dry suit leaks are often caused by a hole in the dry suit material, a puncture or tear in one of the seals around the neck or the wrists, a leak in the zipper or zippers, a leak at the add valve, or a leak at the exhaust vent. Proper inspection, maintenance, and storage is key in preventing many of these issues. For example, storing your dry suit in a cool, dry place will help ensure that the zipper isn’t damaged over time and that the suit material doesn’t break down prematurely due to UV exposure or exposure to high temperatures.
Not all leaks are obvious or easy to identify, and sometimes a hiss that is audible when setting up on land before a shore dive will be missed when you’re on a boat in route to the dive site. Here are a few additional tips for noticing and troubleshooting leaks:
First, put your gear together, turn on your cylinder and check your SPG. Let it sit for a few minutes while you don your wetsuit or review your dive plan. Then check your SPG again. This will allow you to see if you have had a drop in pressure that may indicate a leak. Keep in mind that if your cylinder was stored in a hot vehicle prior to the dive, the cooling of the cylinder once it is removed from the hot vehicle may also cause a reduction in pressure that looks like a leak. Second, listen for any hissing. Again, this may not be possible if you are on a boat. Third, perform a bubble check. If you think you can hear a leak or have noticed a slow and steady drop in pressure, you may be able to submerge the equipment in a nearby tank or in the water to try to locate a leak. Finally, once you are geared up and in the water, do a bubble check with your buddy to ensure that you don’t see any bubbles coming off of their gear and vice versa for you.
If there is a single take away from this article that I want you to have, it is that an ounce of prevention is worth a pound of cure, meaning that by having your equipment regularly serviced, inspecting it prior to diving it, and properly storing it, you will prevent most problems before getting to the dive site. Your equipment is life support equipment, so take care of it. Also, by keeping a few spare O-rings around, you can handle some of the most common leak issues should you encounter them. So, let’s gear up and go diving!


Tinggalkan balasan
Ingin bergabung dalam diskusi?Silahkan berkontribusi!