How to Assemble a Backplate and Continuous Weave Harness
By: Dillon Waters
The assembly of a backplate and a continuous weave harness is a skill that many experienced divers have perfected throughout years of diving, helping them to understand the details and layout of the dive gear they are depending on. This gives them the knowledge and ability to make quick adjustments, perform repairs at the dive site if needed, and an overall better comfort with their dive gear. For the technical or sport diver attempting to assemble the backplate and continuous weave harness for the first time, remember to be patient – this will take longer on your initial try and you may have to undo and rethread portions of the harness to ensure that it is correct. Read the instructions carefully, and if you need assistance, please ask your instructor or local dive shop with help assembling. They will be happy to show you!
Materials
- Backplate
- Harness
- 2-inch Harness Webbing (w/Grommet; optional)
- 3 Stainless Steel D-rings (2 Bent and 1 Regular)
- 5 Stainless Steel Slide Bars (aka Tri-Glides)
- Stainless Steel Buckle
- Bicycle Tire Tubing (1-2-inch Segments)
- Bungee Loop
- Crotch Strap
- Crotch Strap w/D-ring attached
- 1 D-ring
- 1 Slide Bar
- Personal Accessories
One of the attractive features of the backplate and continuous weave harness is its adaptability. One size does not always fit all and the same harness setup will not always suffice for every diver’s needs. To make your harness setup exactly how you want it, you can add more D-rings or other accessories such as weight pockets, cushioned shoulder straps, etc.
Assembly
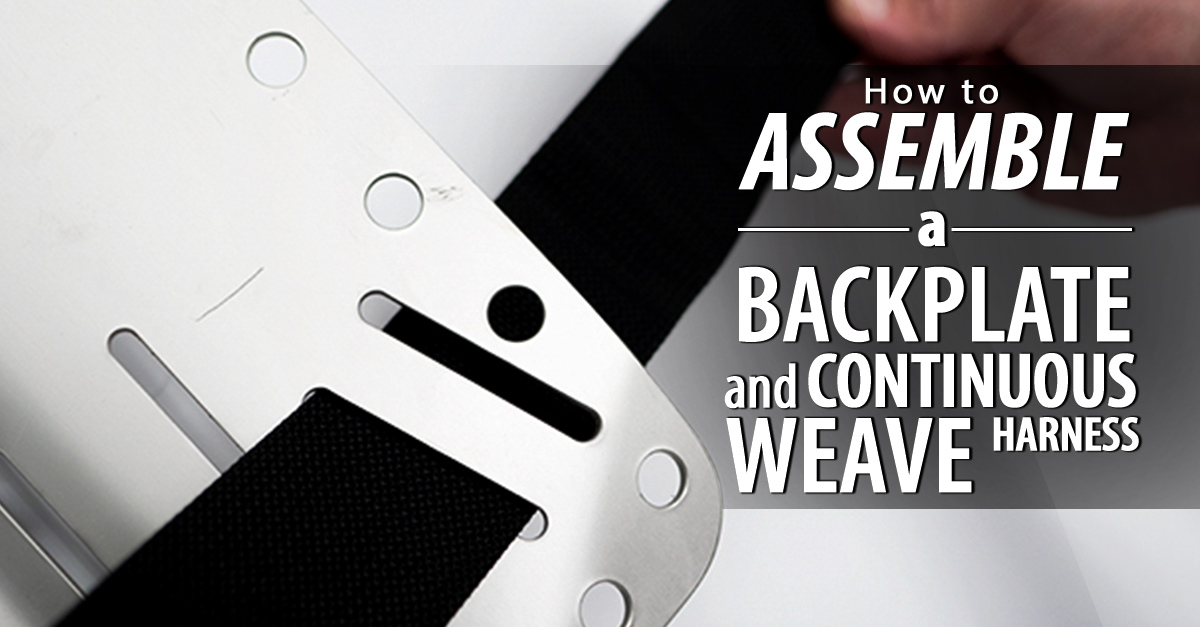
Begin by placing the backplate face down on whatever surface you will be using for the assembly. Take the 2-inch harness webbing and place the center, or grommet, on the top bolt hole on the rear side of the backplate. Thread the webbing through the angled slots towards the front side of the plate and then back through the top horizontal slots. If using webbing with a grommet, you may need to realign it with the top bolt hole before moving to the next step.
Next, you will need to attach your shoulder D-rings. These will likely need some adjusting but for now, they can be placed roughly 10-12 inches from the top. The bent D-rings will be installed facing up, so that they extend slightly from the webbing, making it easier to clip attachments.
Helpful Hint: To contain dangling attachments, many divers slide pieces of bicycle tubing over the harness webbing above and below the shoulder D-rings.
On the diver’s right side shoulder strap, thread the webbing through one slot of the slide bar, through the bent D-ring, and back through the second slide bar slot to lock it into place.
Repeat the process for the left side shoulder strap, EXCEPT, you will need to thread through a bungee loop as well before locking the slide bar in place through the second slot. This is used to keep your corrugated hose and inflator in place.
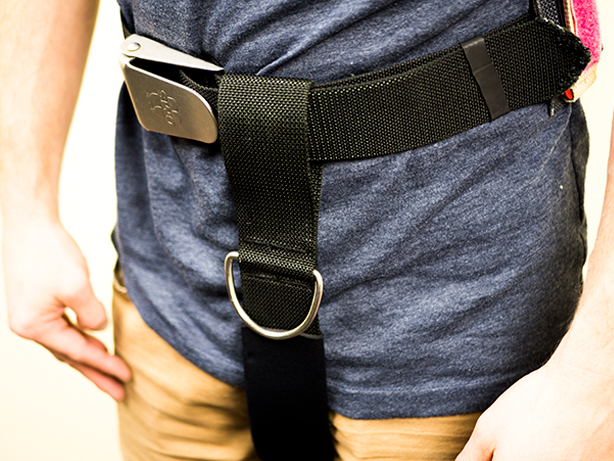
Next, to form the waist strap, thread the webbing through the inside slots at the bottom of the front side of the backplate until shoulder straps fit loosely in plain clothing. Place a slide bar on the webbing to lock the position and then thread back through the outer slots on the bottom of the backplate. Install the straight D-ring and slide bar on the left waist strap, 4-6 inches from the plate.
If you are adding any attachments to the left waist strap, such as a line cutter or a weight pocket, they will need to be added before continuing to the next step.
Before attaching the buckle, slide a piece of bicycle tubing onto the left waist strap. Then, begin attaching the S/S buckle by threading the left waist strap webbing from the front through the larger end slot. Place the buckle 12-18 inches from the backplate and thread the webbing back through the center slot, then thread through the inner slot (until the harness is being adjusted for fit, leave the weight buckle like it is for now). Once you are ready to lock the buckle in place, thread the webbing back through the large slot from underneath so that it is doubled back towards the backplate.
Now, you will need to attach the crotch strap to the backplate. Place a slide bar and D-ring about 12 inches from the end of the crotch strap, then lace the strap through the bottom horizontal slot on your backplate. Position the D-ring and slide bar a hand width from the bottom of the plate, and thread the crotch strap back through the slide bar to lock into place.
The harness is now ready to be adjusted for fit and comfort. Here are a few dry adjustments that you can make before attaching your new backplate/harness to the wing and tanks:
- The shoulder straps should be loose enough for you to easily slip your fist underneath them while wearing.
- The shoulder D-rings should be positioned just below your collarbone, almost horizontal with your armpit.
- The S/S buckle should be positioned just right of center when buckled.
- The crotch strap should be snug but not tight enough to pull the waist strap down.
Putting it All Together/Making Final Adjustments
When your dry adjustments are complete, it is time to assemble your scuba rig for confined water testing. Remove the wing nuts from the bolts on your double cylinder set or single tank adapter. Place the wing on your tanks by putting the tank bolts through the grommet holes, and then do the same with your backplate and harness setup. Reattach the wing nuts and tighten.
With an instructor or dive buddy, don the scuba rig and enter into the confined water. While in the water, try to feel around your harness assembly for any adjustments that still need to be made: Can you still easily access all of your D-rings? Can you reach, deploy, and stow your accessories? At this point you can still easily make minor adjustments and try them out, so take your time to ensure that the fit and comfort of your harness is exactly how you want it.
Once you have finalized the fitting portion, you may now trim any excess webbing left on the waist straps and burn the ends to keep it from fraying. Your backplate and harness are now ready to dive, congratulations!


Leave a Reply
Want to join the discussion?Feel free to contribute!